
What Is an End Mill Cutter? A Machinist’s In-Depth Guide to Selection, Application, and Performance Optimization
Date:2025-12-09Number:1380By jack, CNC Machinist & Tooling Specialist with Over 15 Years in Precision Manufacturing
When I first stepped onto the shop floor as a fresh apprentice, one of the most confusing—and yet fundamental—tools I encountered was the end mill cutter. Back then, I thought it was just another “drill bit.” But over the years, through countless setups, tool breakages, surface finish trials, and conversations with seasoned machinists, I’ve come to deeply respect what this seemingly simple cutting tool truly represents: precision, versatility, and engineering ingenuity.
So, if you’re asking, “What is an end mill cutter?”—whether you’re a new machinist, a manufacturing engineer, or someone sourcing tools for your shop—you’re not just asking about geometry. You’re opening the door to understanding how modern CNC machining achieves tight tolerances, complex contours, and high-efficiency material removal. Let me walk you through everything you need to know—from basics to advanced considerations—with real-world insights that only hands-on experience can provide.
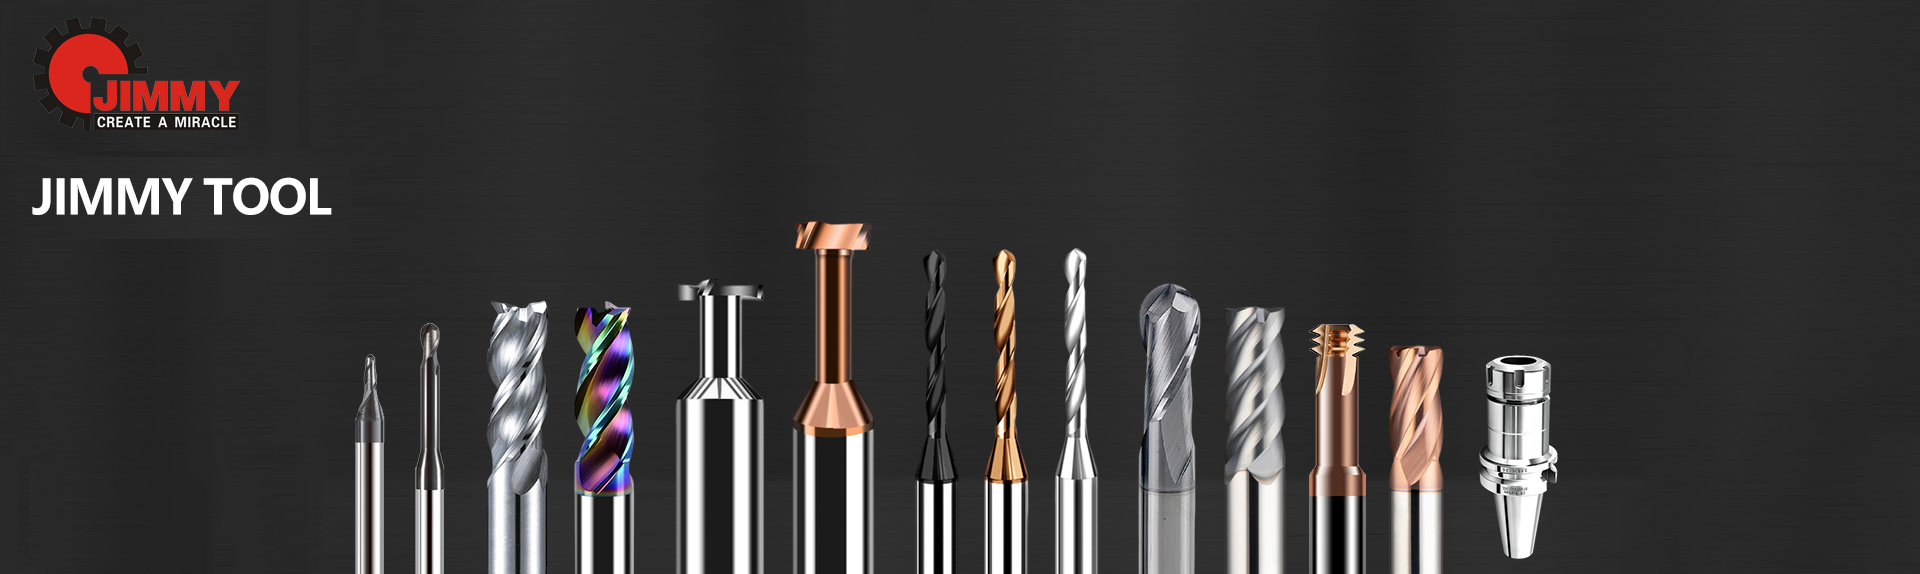
At its core, an end mill cutter (often simply called an end mill) is a type of milling cutter designed to cut on both its end and sides. Unlike a drill bit—which primarily cuts axially—an end mill can plunge, slot, profile, and even interpolate helically. This dual functionality makes it indispensable in CNC milling, routing, and even some turning applications with live tooling.
The term “end milling cutter” is sometimes used interchangeably with “end mill,” though purists may argue that “end milling cutter” refers more broadly to the category, while “end mill” specifies individual tools. For SEO clarity and industry alignment, I’ll use both terms naturally throughout this article—but know they point to the same family of rotary cutting tools.
Key structural features include:
Flutes: The grooves that run along the tool body, allowing chip evacuation.
Cutting edges: Located on the periphery (side) and often at the tip (end).
Shank: The non-cutting portion that clamps into the tool holder.
Helix angle: The twist of the flutes, affecting chip load, finish, and tool strength.
Tip geometry: Center-cutting vs. non-center-cutting designs dictate whether the tool can plunge directly into material.
In my daily workflow, I rely on end mills for nearly every job—whether roughing out aluminum aerospace brackets or finishing hardened steel molds. Their adaptability stems from several factors:
1. Multi-axis capability: End mills excel in 3-, 4-, and 5-axis machining, enabling complex geometries like turbine blades or medical implants.
2. Material versatility: From plastics and composites to titanium and Inconel, there’s an end mill formulation for almost any workpiece.
3. Operation diversity: Need to create a pocket? Use a flat end mill. Require a smooth fillet? Switch to a ball nose. Cutting a chamfer? There’s a dedicated end mill for that too.
I’ve lost count of how many times a well-chosen end mill saved a project from scrapped parts or missed deadlines. That’s why understanding what an end mill cutter is goes far beyond textbook definitions—it’s about knowing how to match tool design to application demands.
Not all end mills are created equal. Over the years, I’ve learned that selecting the wrong type can lead to poor surface finish, excessive tool wear, or even catastrophic failure. Here’s a breakdown of common types I use regularly:
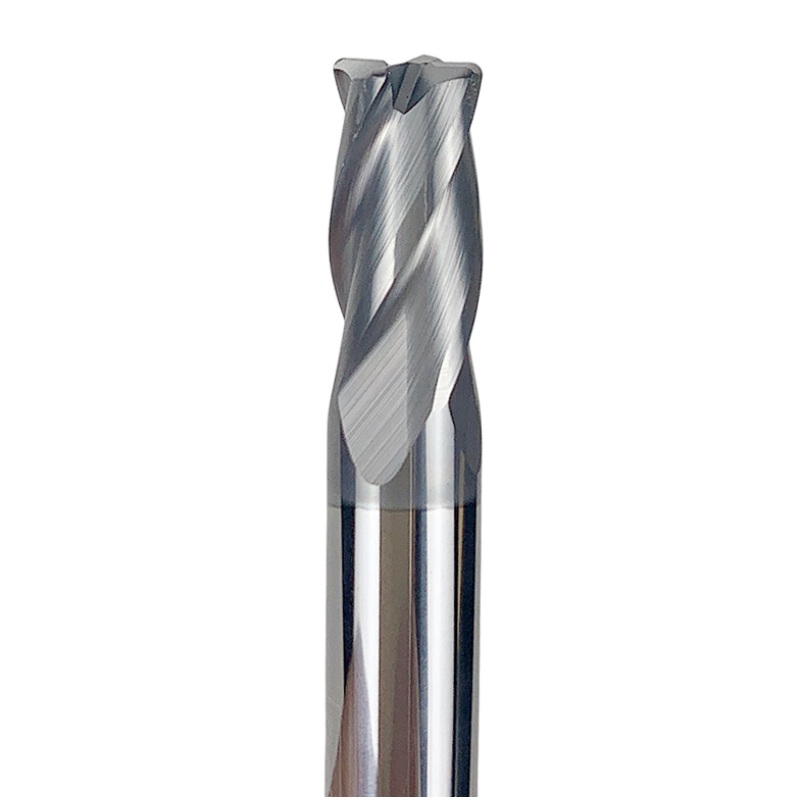
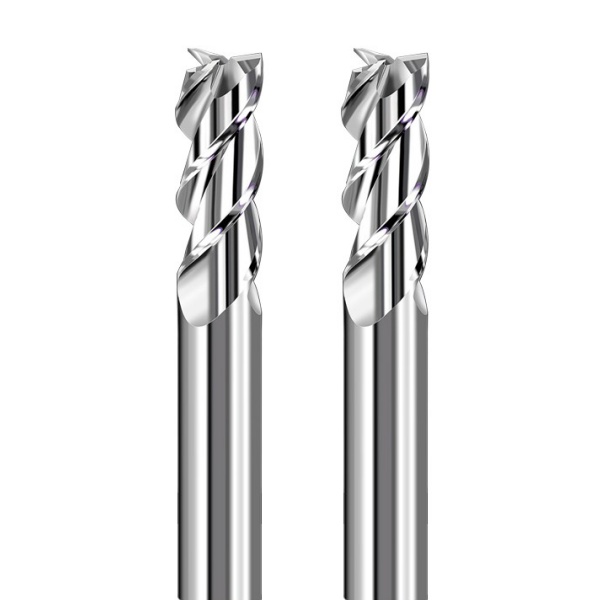
1. Flat End Mills (Square End Mills)
Ideal for: Slotting, profiling, and general-purpose milling.
Characteristics: Sharp corners; excellent for creating flat-bottomed features.
My tip: Use corner radiused versions if you’re concerned about chipping in harder materials.
2. Ball Nose End Mills
Ideal for: 3D contouring, mold making, and finishing organic shapes.
Characteristics: Hemispherical tip allows smooth transitions across curved surfaces.
My tip: Stepover distance is critical—too wide and you’ll get visible scallops.
3. Corner Radius End Mills
Ideal for: High-feed roughing with improved edge strength.
Characteristics: Blended radius between flat bottom and side edges.
My tip: These are my go-to for stainless steel roughing—they last significantly longer than square end mills.
4. Roughing (or “Pig”) End Mills
Ideal for: Aggressive material removal in soft metals or plastics.
Characteristics: Wavy or serrated flutes break chips into smaller pieces.
My tip: Great for hogging out aluminum, but avoid them for finishing—they leave a rough surface.
5. Tapered End Mills
Ideal for: Die sinking, engraving, and angled wall features.
Characteristics: Diameter decreases toward the tip.
My tip: Essential for EDM electrode finishing or mold draft angles.
Each type serves a strategic purpose. Misapplication is a common rookie mistake—I once saw a colleague try to use a ball nose for slotting, only to burn the tool in seconds. Don’t be that guy.
Early in my career, I assumed “harder is always better.” Not true. The base material of your end milling cutter dramatically affects performance, cost, and suitability.
High-Speed Steel (HSS): Affordable and tough, great for manual mills or low-RPM applications. I still keep a few HSS end mills for prototyping in mild steel or brass.
Solid Carbide: Rigid, heat-resistant, and capable of high speeds. My primary choice for CNC work—especially in production environments.
Carbide-Tipped: A hybrid option; less common today but useful for large-diameter tools where solid carbide would be cost-prohibitive.
Then there are coatings—TiN, TiAlN, AlCrN, diamond-like carbon (DLC)—each engineered for specific materials:
TiAlN: My default for stainless steel and high-temp alloys. It forms a protective oxide layer at high temps.
DLC: Perfect for non-ferrous materials like aluminum or composites—reduces built-up edge.
Uncoated: Sometimes best for sticky materials like pure copper or certain plastics where coatings can actually increase adhesion.
Pro insight: Never assume a shiny gold-coated end mill is “better.” Match the coating to your workpiece chemistry and cutting parameters.
A frequent question I get: “Should I use a 2-flute or 4-flute end mill?” The answer depends entirely on your material and operation.
2-flute: Excellent chip clearance in soft materials (aluminum, wood, plastics). Also the only practical choice for slotting in most cases.
3-flute: A sweet spot for aluminum—balances chip removal and surface finish.
4+ flute: Best for finishing steel or iron, where chip loads are smaller and rigidity matters more.
I remember switching from a 4-flute to a 2-flute when machining 6061-T6 aluminum—chip packing vanished overnight. Lesson learned: flute count isn’t about prestige; it’s about physics.
Optimizing Cutting Parameters for End Mill Performance
Knowing what an end mill cutter is means nothing if you don’t run it correctly. I’ve seen shops destroy $200 carbide tools in under a minute due to improper feeds and speeds.
Key parameters I always calculate (never guess!):
Surface Feet per Minute (SFM) or Cutting Speed (Vc)
Chip Load per Tooth (IPT)
RPM and Feed Rate (IPM)
For example, when running a 1/2" solid carbide end mill in 4140 pre-hardened steel:
SFM ≈ 300
Chip load ≈ 0.002" per tooth
With 4 flutes → Feed = RPM × 4 × 0.002
Use a reliable speed and feed calculator—or better yet, consult your tool manufacturer’s data. Many top brands (like Harvey Tool, Niagara, or OSG) offer free online calculators tailored to their geometries.
Also, never ignore radial and axial depth of cut. Light radial engagement (<10% tool diameter) with high axial depth enables high-efficiency milling (HEM), which I use daily to extend tool life and reduce cycle time.
Common Mistakes to Avoid When Using End Mill Cutters
After thousands of hours behind the CNC pendant, here are the top pitfalls I see—even among experienced operators:
1. Using worn tools past their limit: A dull end mill doesn’t just cut poorly—it generates excess heat, induces chatter, and can snap unexpectedly.
2. Incorrect tool holding: A loose ER collet or worn hydraulic chuck leads to runout, which kills end mills fast. I check TIR weekly.
3. Ignoring coolant strategy: Through-tool coolant isn’t just for show—it evacuates chips and cools the cutting zone. Dry cutting hardened steel? You’re gambling.
4. Plunging non-center-cutting end mills: Obvious to veterans, but I’ve seen it happen—resulting in broken tools and damaged parts.
Prevention beats correction. A 5-minute tool inspection saves hours of rework.
The Future of End Mill Technology: What’s Next?
As a practitioner, I’m excited by recent innovations:
Variable helix/pitch designs: Disrupt harmonic vibrations, allowing higher MRR with less chatter.
Micro-grain carbide substrates: Enable sharper edges and better wear resistance.
Smart tooling with embedded sensors: Still emerging, but promising for predictive maintenance.
But even with AI-driven toolpath optimization, the fundamentals remain. The best CAM software can’t compensate for a poor understanding of what an end mill cutter is and how it interacts with your material.
Final Thoughts: Mastery Comes from Understanding
So, to circle back—what is an end mill cutter?
It’s not just a piece of shaped carbide. It’s a precision-engineered interface between machine and material. It’s the reason we can manufacture jet engines, smartphone casings, and custom orthopedic implants with micron-level accuracy.
If you take one thing from this article, let it be this: treat your end mills as partners in the machining process—not consumables to be swapped blindly. Study their geometry, respect their limits, and match them intelligently to your application.
Whether you’re searching “end milling cutter types,” “how to choose an end mill,” or “carbide end mill vs HSS,” I hope this guide—written from the trenches of real-world metal removal—gives you actionable knowledge that improves your results on the shop floor.
Stay sharp,
jack
CNC Machinist Tooling Consultant Precision Manufacturing Advocate
person: Mr. Gong
Tel: +86 0769-82380083
Mobile phone:+86 15362883951
Email: info@jimmytool.com
Website: www.jimmytool.com
