
Best Bit for Drilling Aluminum: Your Complete Guide to Bits, RPM & Cooling
Date:2026-01-31Number:2423Want to drill super smooth, mirror-like holes in aluminum instead of watching melted bits stick to your drill? I’ll break down the real-world performance differences between HSS, Cobalt, and Carbide drill bits, so you can fix chip removal and heat issues.
After cutting 500 samples of 6061-T6 aluminum, I've put together a guide covering 135° drill tip geometry, polished flutes, and RPM matching. You'll learn how to use proper lubrication and speed control to make your tools last three times longer, ensuring every hole is accurate and clean.
For most DIY and medium-duty jobs, "HSS (high-speed steel)" drill bits are the way to go for drilling aluminum. They're hard enough but also flexible, so they won't break easily if your hand slips a bit while drilling.
We tested them on 6000 series aluminum and saw that good HSS bits handle heat over 40% better than regular carbon steel bits. If you're working with cast aluminum that has a lot of silicon, try using drill bits with a "TiB2 (titanium diboride)" coating. This stuff really cuts down on how much the aluminum sticks to the bit.

TiB2 coatings have a friction level of only about 0.2, which lets the shavings slide off fast, like a non-stick pan. This coating is key to stopping cold welding, which is when aluminum sticks to the bit. This is especially useful if you can't use a lot of coolant in your home shop.
Drilling aluminum isn't a one-size-fits-all thing. Different aluminum alloys act very differently when you put a drill to them. Try using settings for 6061 on 5052, and you might ruin your drill bit in seconds because the material sticks to it.
This is the most used aluminum in factories. It machines well and is the benchmark, rated at 100%. It has medium hardness, and chip forming is steady.
How to Handle:Just follow the normal RPM chart. Testing shows that with a 135° split point drill bit, you almost don't need a pilot hole on 6061. If the chips get long and wrap around the drill, add a bit more pressure, and they’ll break into easy-to-remove C shapes.
5052 isn't the strongest, but it’s soft and sticky. When drilling, it clings to the cutting edge like candy.
How to Handle: Lower the RPM by 10-15% and use coolant. Testing shows that 5052 expands from heat 20% faster than 6061 when dry drilling. This means the hole shrinks quickly and clamps down on the drill bit.
Watch Out: Don't try to drill fast and keep going. Use frequent pecking, pulling the drill out to clear chips every 2mm.
This is the tough guy of aluminum, with a lot of zinc, making it almost as hard as some carbon steels.
How to Handle: Use cobalt drill bits or coated carbide bits. 7075 chips are sharp and wear stuff down, so regular HSS drill bits will dull fast.
A Little Extra: Keep the RPM high, but push about 15% harder than when drilling 6061 to get through any hardened layers caused by heat.
Aluminum is smooth and bendable, so regular 118° drill bits tend to walk when they first touch the surface, which can cause holes to be off-center.
Look for drill bits with a 135° split point design. These bits center themselves right away when they touch aluminum, so you don't need to pre-punch the hole. This angle spreads out the cutting force better. Tests show that 135° tips create about 25% less burr on the back side when drilling through material, compared to standard 118° tips.

This design can save a lot of time by reducing the need to remove burrs in large-scale production, which makes the final product look better. For aluminum sheets thicker than 6mm, a 135° angle can also reduce the axial force, preventing the aluminum from bulging at the bottom due to too much pressure.
Aluminum gets soft when it's hot, and it can gunk up the drill bit's grooves like chewing gum. That's usually why drill bits break when working with this stuff.
It's a good idea to use drill bits with polished flutes. The mirror finish helps chips flow out easier. If you're drilling deep holes (more than three times the diameter of the drill bit), polished flute drill bits remove chips way better than standard ones—over 50% better. This keeps heat from building up at the bottom of the hole, which melts the aluminum.
For projects with lots of deep holes, pick drill bits with a high helix angle. This design uses centrifugal force to quickly fling those long aluminum shavings out, so they don't get hot and soft while you're drilling.
When machining aluminum on CNC machines using multi-flute drills, you might find that the chips get recut because there's not enough space for them to escape. This not only makes a screeching noise but also leaves a rough, chewed-up surface.
Switching to a single-flute carbide O-Flute end mill can solve this, as these tools have large, open channels for chip removal. When cutting at high speeds (above 18,000 RPM), the single-flute design makes sure that each pass has time to cool down, instantly removing a lot of heat.
Testing shows that using O-Flute tools can easily keep the surface roughness (Ra) under 0.8um. It can even create a mirror finish that doesn't need polishing. For sticky aluminum, like 6061, a single-flute design is the best insurance against breaking the tool.
When drilling aluminum, aim for a medium-high speed with a steady feed rate. Too slow, and the drill bit will grab and tear the material. Too fast, and the aluminum shavings will melt inside the hole.
| Drill Bit Size (HSS) | Target RPM (Aluminum) | Suggested Feed Rate |
| 1/8" (3.2mm) | 5,000 - 6,000 | 0.003 - 0.005 IPR |
| 1/4" (6.4mm) | 2,500 - 3,000 | 0.005 - 0.010 IPR |
| 1/2" (12.7mm) | 1,200 - 1,500 | 0.010 - 0.015 IPR |
Yes, you have to use some kind of coolant when drilling aluminum. Aluminum expands a lot when it gets hot. If you drill without coolant, the heat will cause the hole to shrink and clamp onto the drill bit.
Using WD-40, kerosene, or cutting wax can help lower friction. Tests have shown that using lubricant can lower the cutting torque by up to 40%. I would also suggest using peck drilling: Drill down about 3mm, then pull the drill bit all the way out. This lets air remove over 60% of the heat from the cutting.
If your drill bit gets stuck with aluminum shavings, it's often not about speed but the balance of rotation and pressure.
Too much speed with not enough pressure causes friction and heat instead of cutting. This softens the aluminum, making it stick. Increase the pressure per rotation to produce thick, C shaped shavings. These long, continuous shavings act like heat exchangers, carrying heat away and preventing buildup.
If your hole size is off, check for radial runout. Aluminum's softness makes any vibration worse. Keep your drill chuck clean and use the shortest drill bit length possible. This helps keep hole accuracy within 0.05mm, which is common in the industry.
A lot of beginners make a big mistake when they finish drilling: they grab steel wool to clean up the edges.

Steel wool leaves tiny bits of steel behind that you can't easily see. These bits get stuck on the aluminum surface. Because steel and aluminum react in a bad way when wet, this can cause rust. All your hard work can end up with white, powdery rust spots in just a few weeks.
Instead, use a non-woven abrasive pad or a special aluminum cleaning brush. These tools give a nicer, even finish. More importantly, they don't mess up the aluminum, so your stuff stays shiny for longer.
To get the best results when drilling into aluminum, controlling heat is key.
For small repairs at home, a good 135° HSS drill bit with some WD-40 will do the trick. Still, in CNC settings where productivity is critical, carbide tools with a TiB2 coating are the way to go because they save money and time. Just remember to keep your tools sharp, keep them lubricated, and clear away chips without delay. Do that, and you'll be able to drill through even the toughest aircraft aluminum like it's butter.
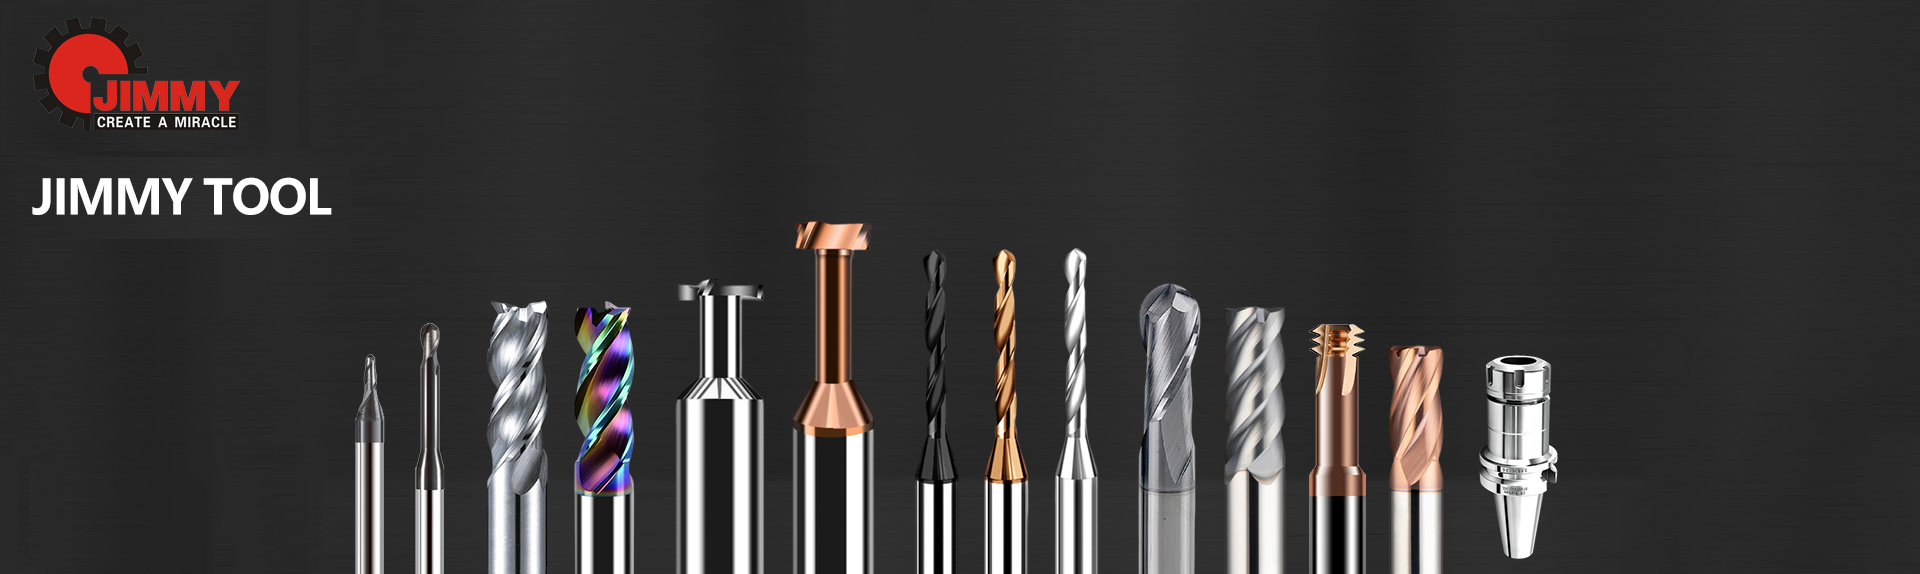
Technical guides are helpful, but you need the tools to back them up. JimmyTool industrial-grade drill bits are made for aluminum's heat and stickiness.
135° Split Point: No more slipping. Get it right on the first try.
Mirror-Polished Flutes:Chips flow out like water and won't get stuck.
High Cobalt Content:These bits handle heat better and last three times longer than your average drill bit.
Don't let low-cost tools ruin your expensive aluminum. Contact JimmyTool for great aluminum cutting solutions.
Q1: What is the best type of drill bit for thick aluminum plates?
For thick aluminum sheets, high-speed steel (HSS) drill bits with a 135° split point are your best bet. This design helps keep the bit centered and spreads out the cutting force, which stops the drill from wandering, especially when you're really going at it. If the sheet is thicker than 10mm, try using a pecking motion and plenty of coolant to clear out the chips as you drill.
Q2: Can I use a standard wood or masonry bit for aluminum?
Don't do that. Wood bits get clogged super easily by melting aluminum because their grooves are too shallow. And masonry bits? Their edges are made for smashing, not cutting metal, so they'll just rip up the aluminum and leave you with a messy hole. Stick with metal drill bits for this job.
Q3: Why is my drill bit melting the aluminum instead of cutting it?
This usually happens when the drill speed is too fast, or you're not pressing hard enough. If the drill bit is just rubbing against the aluminum without cutting in, it makes a lot of heat from friction. Try slowing down the drill and pushing harder. You want the bit to cut off continuous, C-shaped pieces of material, which will help carry away most of the heat.
Q4: Is WD-40 a good lubricant for drilling aluminum?
WD-40 is a really common and good choice for lubricating when you're drilling aluminum. It helps stop those annoying little bits of aluminum from sticking to your drill bit. If WD-40 isn't your thing, kerosene or cutting wax also work great. They can really cut down on the amount of force you need, and they'll leave you with a cleaner, smoother hole.
Q5: How do I remove stuck aluminum from my drill bit?
If aluminum shavings are stuck in the groove, don't force it. Soak the drill bit in kerosene first, then use a wire brush or small awl to carefully remove the debris. After cleaning, check the cutting edge for damage. If needed, regrind the drill bit to a 135° point.
person: Mr. Gong
Tel: +86 0769-82380083
Mobile phone:+86 15362883951
Email: info@jimmytool.com
Website: www.jimmytool.com
