Ball End Mills Guide: Mastering RPM, Scallop Height & Tool Life
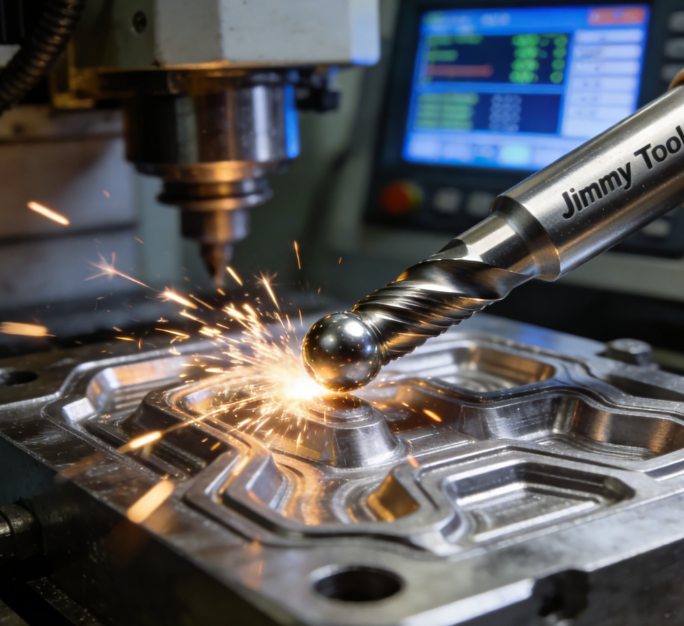
Date:2026-02-14Number:1635In 3D contour machining, ball end mills are often the last line of defence for achieving a good surface finish on moulds. However, you may find that, even when using high-quality ball mill cutter tools, the cutting edge still sustains abnormal burn damage or the surface consistently exhibits stubborn vibration marks. This is not usually a tool quality issue, but rather stems from overlooking the 'zero-speed zone' trap inherent in the physical structure of ball nose cutters.
Empirical data shows that using an effective diameter (Deff) correction factor instead of traditional nominal diameter speed algorithms, while shifting the cutting path 15° off-centre, increases the life of ball nose cutters by 220% when machining hardened steel. Surface roughness is consistently controlled at Ra 0.4 μm.
This article will explain advanced machining logic to you, from the effective diameter reference table to parameter degradation rules for end milling bits with an overhang of less than 5xD, and how to protect the bottom edges of your expensive tools with a 1.5° ramp-in approach.
In order to achieve a mirror finish directly on ball milling machines, it is essential to exercise precise control over the residual height (scallop height). Many beginners habitually set the steppover value incorrectly, resulting in the need for additional polishing later on. In reality, the relationship between steppover and surface finish is non-linear. You will only find that sweet spot between efficiency and Ra value when your steppover is set between 0.05R and 0.1R.
If you're using an R3 ball nose cutter, controlling the steppover between 0.15 mm and 0.2 mm will theoretically keep the residual height under 0.002 mm. This means that parts can proceed directly to the next process with minimal or no secondary manual polishing. Remember: Once the step size exceeds 20% of the diameter, the surface texture deteriorates exponentially, no matter how high the spindle speed is set.
Here's a critical pitfall to avoid: When machining ramps or curved surfaces, never use 'reciprocating' cutting. You must force the spindle to maintain a down-milling orientation at all times. During up-milling, end milling bits generate compressive friction upon entering the material. This shortens the life of the coating and leaves unsightly 'two-tone' colour variations on curved surfaces.
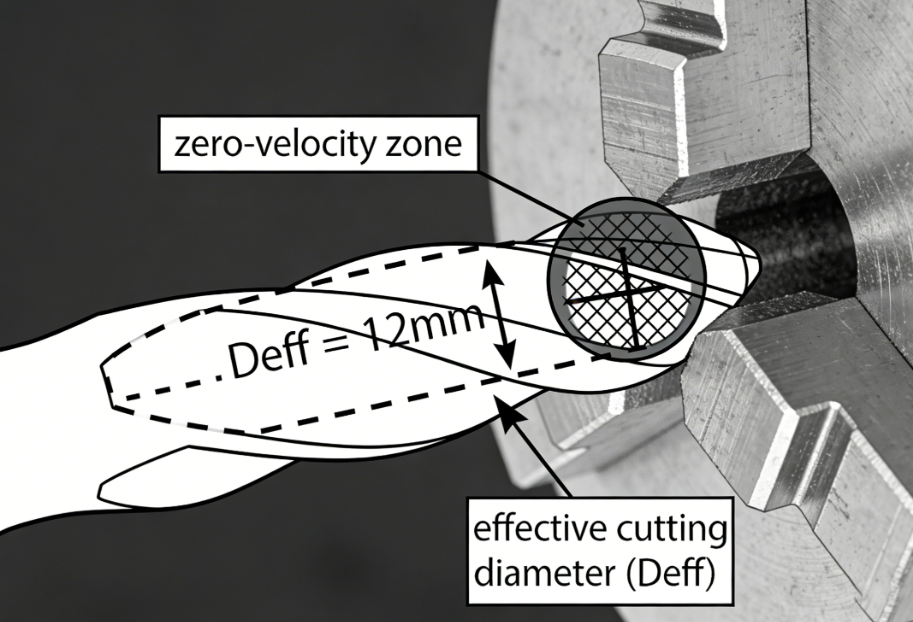
Most engineers make mistakes here by setting the spindle speed directly based on the nominal diameter of ball end mills. It is important to understand that the tip centre point of a ball end mill always has zero linear speed. When machining with an extremely shallow depth of cut (Ap), only 30% of the tool's nominal size may be participating in the cutting process.
If you set the speed based on D, the actual cutting speed (V_c) will be far below the value recommended by the coating manufacturer. This causes the ball mill cutter to grind rather than cut the material. This inefficient process generates immense heat, which is why the centre of the tool tip always blackens and then melts.

To achieve efficient machining, you must calculate the effective diameter (Deff) based on the axial depth of cut (Ap). Below is a correction table for the actual parameters of common ball-end mills at various depths of cut. We recommend saving it directly:
| Nominal Diameter(D) | Axial Cutting Depth (Ap) | Effective Cutting Diameter (Deff) | RPM Correction Factor |
| R2 (4mm) | 0.1 mm | 1.25 mm | 3.2x |
| R3 (6mm) | 0.2 mm | 2.15 mm | 2.8x |
| R6 (12mm) | 0.5 mm | 4.80 mm | 2.5x |
This means that when performing a 0.2mm finish cut with 6mm end milling bits, you should calculate the spindle speed based on 2.15mm. You will find that the spindle speed needs to be nearly three times higher than what you are accustomed to in order to achieve the optimal operating range for the tool coating.
When machining deep cavity moulds, overhang length is the hidden killer of ball end mill lifespan. For every doubling of tool overhang, rigidity decreases cubically. The high-pitched, grating chatter noise you often hear is actually the cumulative effect of microscopic deflection in end milling bits under cutting forces.
When your length-to-diameter ratio (L/D) exceeds 5, you enter the “danger zone” of machining. Field tests show that, without parameter adjustments, radial runout at the tool tip rapidly increases at 5D, causing one cutting edge to bear over 80% of the load. To preserve surface accuracy, strictly adhere to this attenuation rule: Reduce the feed rate (Fz) by 15%-20% for every 1*D increase in overhang.
Additionally, radial runout must be kept strictly below the critical threshold of 0.005 mm. If you are still using standard ER chucks for long overhang machining, you should immediately switch to shrink-fit or hydraulic toolholders. Hydraulic toolholders absorb over 25% more vibration than standard chucks on identical ball milling machines. This increased rigidity eliminates step marks at curved tool engagement points and dramatically increases tool life.
Removing a worn-out tool from a ball milling machine reveals all the hidden secrets of the process. Learning to diagnose problems like a 'tool forensic expert' can save you years of trial and error. There are two main failure modes for ball end mills: thermal burnout and mechanical fracture, which require completely opposite remedial approaches.
If your tool tip shows blackening at the centre point, peeling of the coating, or even minor melting, this is classic 'central heat buildup'. This is caused by reducing the spindle speed out of fear of tool breakage. As mentioned earlier, insufficient cutting speed at the tip causes the material to be squeezed and heated by friction rather than being cut away, resulting in scorching. In this case, you should increase the RPM.
Conversely, if end milling bits exhibit large-scale chipping on the flank or break cleanly from the shank, the issue is usually insufficient chip clearance or excessive cutting forces. When machining work-hardened steel (HRC 50+), the chip pockets of a 4-flute ball end mill can become instantly clogged with chips. The resulting radial forces can cause the tool to snap instantly. The solution is to check your coolant pressure or reduce the radial depth of cut (A_e). Remember that a healthy failure state shows uniform wear on the rake face rather than catastrophic fracture.
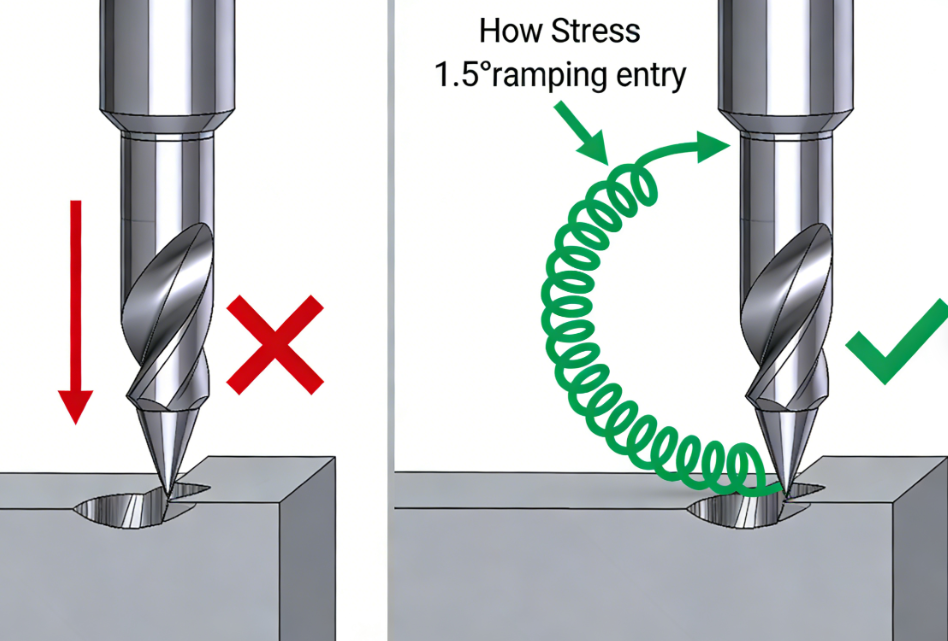
The moment when a ball nose cutter first makes contact with the material is the most critical for protection. The majority of chipping occurs during vertical plunging. Unlike a drill bit, the bottom edge structure of a ball nose cutter is not designed to withstand direct axial forces. This aggressive entry method instantly subjects the tip to excessive impact loads.

The most professional approach is to use a ramping entry angle of between 1.5° and 3°. This slight angle generates a radial component of force during penetration, enabling the cutting edge to smoothly 'glide' into the material. If your machine system supports it, helical interpolation is the superior choice.
Field data confirms that helical ramping reduces initial cutting resistance by around 60% compared to vertical plunging. This preserves your expensive ball mill cutter tool tips and prevents unsightly 'impact marks' on workpiece surfaces. When finishing high-hardness materials, these few degrees of ramping can mean the difference between success and failure.
Q: When should you use a ball nose cutter instead of a flat end mill?
A: When it comes to finishing 3D nonlinear surfaces or mold cavities, the ball nose cutter is the only choice. Flat-bottomed cutters leave stepped tool marks when machining ramps, whereas ball nose cutters envelop smooth surfaces through continuous cutting points. Furthermore, if you need to machine full-radius U-grooves, the ball nose cutter is also the most efficient solution.
Q: Ball end mill vs. Bull nose mill: Which one is better?
A: This is a trade-off between 'rigidity' and 'root-cleaning capability'. Ball mill cutter tools have the advantage of full-surface profiling capability, but their cutting edges are extremely fragile. In contrast, bullnose end mills have a flat centre, which gives them a stronger base structure. For roughing operations or cavities with large flat bases, prioritise bullnose tools to withstand higher loads, switching back to ball-nose cutters only for the final finishing of curved surfaces.
Q: How many flutes are best for ball milling bits?
A: This is a classic case of material adaptation. When machining viscous materials like aluminum alloys, strictly adhere to a 2-flute structure—the ample chip clearance space is crucial for preventing built-up edge (BUE). Conversely, when machining cemented carbide or hardened steel, 4-flute ball-nose cutters deliver significantly improved surface finish and extended tool life due to their superior central rigidity and higher cutting frequency per unit time.
Successful ball end mill machining does not rely on intuition, but on an understanding of physical limits. If you can avoid the pitfalls of the zero-speed zone at the centre, adhere strictly to deflection-corrected spindle speeds and constantly monitor the runout redline at 5D overhang, you will have surpassed 90% of shop floor operators.
Remember that tooling manual specifications are merely guidelines. True experts fine-tune processes in real time based on feedback from the workpiece, whether through chip colour, spindle load or that faint vibration hum. Before your next setup, verify your effective cutting diameter. This is the first step towards achieving a mirror finish.Contact us for more details.

person: Mr. Gong
Tel: +86 0769-82380083
Mobile phone:+86 15362883951
Email: info@jimmytool.com
Website: www.jimmytool.com