
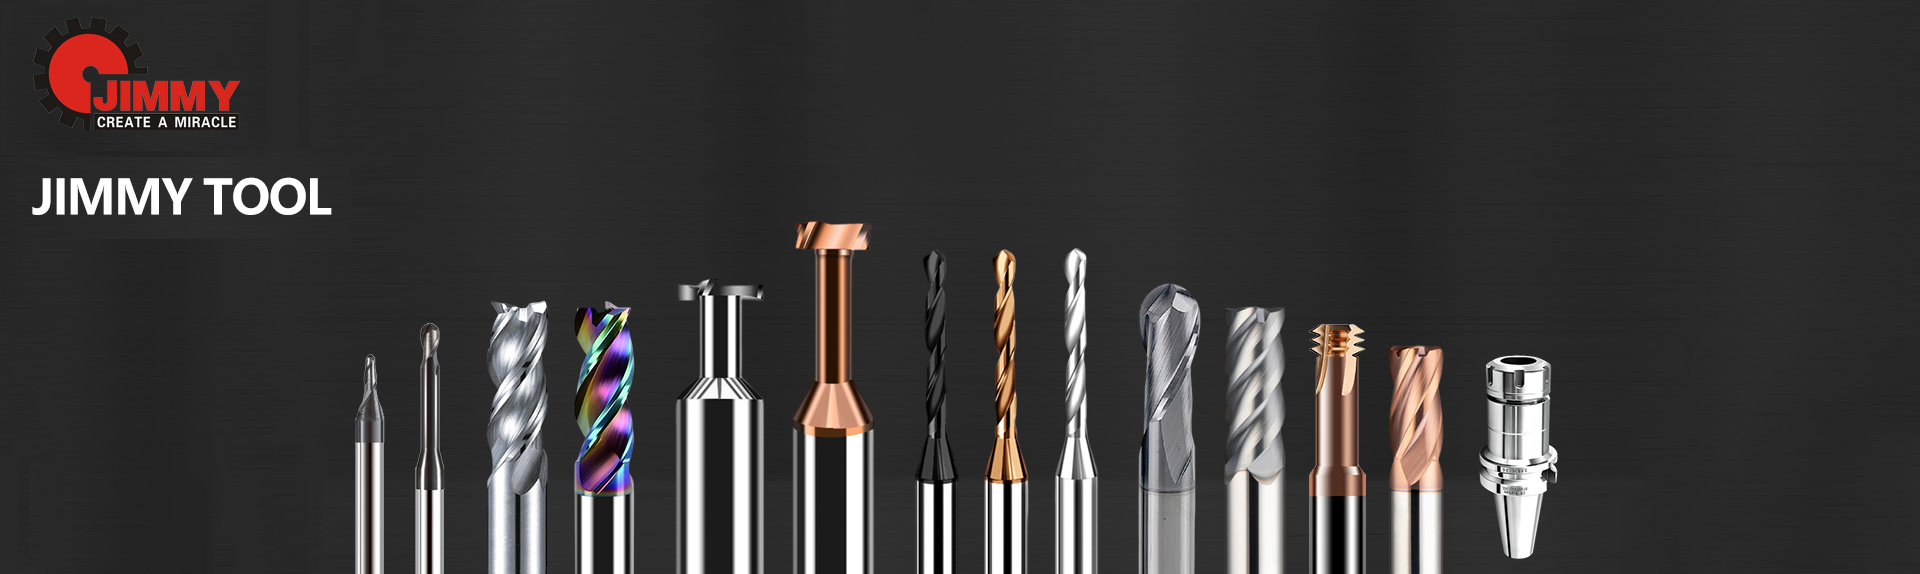
How to Choose Milling Cutter Bits?
Date:2026-01-24Number:1428Definition: Milling cutter bits are rotary cutting tools with one or more teeth (cutting edges) that remove material when rotated against a workpiece. Unlike drill bits that primarily cut axially, milling cutter bits cut both radially and axially, enabling a wide range of operations including facing, slotting, profiling, and contouring.
Core Components Explained:
Cutting Edge/Tooth: The actual cutting portion
Rake Angle: Controls cutting forces and chip flow
Clearance Angle: Prevents rubbing against workpiece
Helix Angle: Affects cutting action and chip evacuation
Flutes: The grooves running along the cutter
Function: Provide chip evacuation path
Count: Typically 2-8 (more flutes = smoother finish but reduced chip space)
Shank: The portion held by the machine
Types: Straight, Weldon, CAT, BT, HSK
Critical: Runout (TIR) must be minimal for precision work
Core: The central structural element
Diameter: Affects rigidity and strength
Two Fundamental Cutting Actions:
Conventional Milling (Up Milling):
Chip starts thin, ends thick
Tool life may be reduced due to initial impact
Better for manual machines or weak setups
Climb Milling (Down Milling):
Chip starts thick, ends thin
Reduced cutting forces, better surface finish
Requires rigid machine with minimal backlash
Chip Formation Physics:
Chip Thickness (h) = Feed per Tooth × sin(Cutter Engagement Angle)
This formula explains why chip thickness varies during cut—a fundamental consideration for parameter selection.

| Bit Type | Primary Function | Key Features | Typical Uses |
|---|---|---|---|
| End Mills | Versatile cutting on sides and bottom | Multiple flutes, center-cutting capability | Slotting, profiling, pocketing |
| Face Mills | Creating flat surfaces | Large diameter, indexable inserts | Facing operations, large surface area |
| Slot Drills | Cutting slots (true to size) | Two flutes, center-cutting | Keyways, grooves, precise slots |
| Ball Nose Mills | 3D contouring | Spherical end radius | Mold/die making, complex surfaces |
| Corner Radius Mills | Shoulders with fillets | Rounded corners | Strength in corners, reduced stress |
| Chamfer Mills | Beveling edges | Angled cutting edges | Deburring, edge preparation |
High-Speed Steel (HSS) Bits:
Advantages: Tough, inexpensive, can be sharpened easily
Limitations: Lower heat resistance, wear faster than carbide
Best for: Manual milling, low-volume production, educational settings
Solid Carbide Bits:
Advantages: High hardness, heat resistance, excellent for high speeds
Limitations: Brittle, expensive, sensitive to vibration
Best for: CNC machining, hard materials, high-precision work
Carbide-Tipped Bits:
Advantages: Combines carbide cutting edges with steel body
Compromise: Between HSS and solid carbide in performance and cost
Indexable Insert Mills:
Advantages: Only inserts are replaced, economical for large diameters
Complexity: Require proper pocket maintenance and alignment
Flute Count Analysis:
| Flutes | Strengths | Weaknesses | Ideal For |
|---|---|---|---|
| 2 Flutes | Maximum chip space | Less rigidity | Aluminum, deep slots, high MRR |
| 3 Flutes | Good chip space, decent finish | Not center-cutting | General aluminum, non-ferrous |
| 4 Flutes | Excellent rigidity and finish | Reduced chip space | Steel, finishing operations |
| 5+ Flutes | Superior finish, high feed rates | Limited to light cuts | Finishing hard materials |
Helix Angle Impact:
Low Helix (15°-25°): Stronger cutting edge, better for hard materials
Standard Helix (30°-35°): General purpose, balanced performance
High Helix (40°-45°): Smooth cutting, excellent chip evacuation, ideal for aluminum
Optimal Bit Characteristics:
Material: 2-3 flute HSS or carbide
Geometry: High helix (35°-45°), sharp cutting edges
Coating: Uncoated or AlTiN for abrasion resistance
Special Features: Polished flutes to prevent material adhesion
Parameter Guidelines:
For 1/2" 3-flute carbide end mill in 6061 Aluminum:
RPM = (1000 SFM × 3.82) / 0.5 = 7640 RPM
Feed = 7640 RPM × 0.006" per tooth × 3 teeth = 137.5 IPM
Depth of Cut: Axial 1× diameter, Radial 50% max
Pro Tip: Use compressed air or mist coolant instead of flood coolant for aluminum to prevent chip welding (buildup on cutting edges).
Optimal Bit Characteristics:
Material: 4+ flute carbide or premium HSS
Geometry: Medium helix (30°-35°), corner radius for strength
Coating: TiAlN, TiCN, or specialized steel coatings
Special Features: Variable helix/pitch for vibration damping
Parameter Guidelines:
For 1/2" 4-flute carbide end mill in 1018 Steel:
RPM = (400 SFM × 3.82) / 0.5 = 3056 RPM
Feed = 3056 RPM × 0.004" per tooth × 4 teeth = 48.9 IPM
Depth of Cut: Axial 0.5-1× diameter, Radial 30-50%
Critical: For stainless steel, reduce SFM by 30% and ensure aggressive chip evacuation to prevent work hardening.
For Hardened Steel (>45 HRC):
Bit Type: Micrograin solid carbide
Geometry: 4-6 flutes, reduced neck for rigidity
Coating: Specialized hard-milling coating
Strategy: Light radial engagement (5-10%), consistent chip load
For Titanium and Nickel Alloys:
Bit Type: Premium solid carbide with high core strength
Geometry: Variable helix, polished flutes
Coating: Specialized for high-temperature alloys
Critical: Never stop feed during cut to prevent work hardening

Roughing End Mills (Rippers/Pork Chops):
Design: Serrated cutting edges
Function: Break chips into small segments
Advantage: Higher MRR, reduced vibration
Compromise: Poor surface finish requiring finishing pass
Finishing End Mills:
Design: Sharp, precise cutting edges
Function: Create final dimensions and surface finish
Variations: Square end, ball nose, corner radius
Key Metric: Surface finish capability (Ra value)
True Slotting Bits:
2-Flute Design: Maximum chip evacuation from deep slots
Center-Cutting: Essential for plunge cutting
Applications: Keyways, through-slots, deep grooves
T-Slot Cutters:
Unique Design: Shank-mounted with perpendicular cutting head
Specific Use: Cutting T-slots for clamping systems
Operation: Require pre-cut slot for neck clearance
Dovetail Cutters:
Angled Design: Specific angle (45°, 60°, etc.)
Application: Machine tool slides, precision joining
Usage: Typically used in pairs (male/female)
The Modern Threading Solution:
Advantages over Taps: No breakage risk, single tool for multiple thread sizes, better chip control
Types: Single-point, multi-point, form-style
Programming: Requires helical interpolation
Best For: Large threads, difficult materials, CNC applications
Three Essential Formulas:
Spindle Speed (RPM):
RPM = (SFM × 3.82) / Tool Diameter (inches)
Feed Rate (IPM):
IPM = RPM × Chip Load per Tooth × Number of Flutes
Metal Removal Rate (MRR):
MRR (in³/min) = Width of Cut × Depth of Cut × Feed RateQuick Reference Chart for Common Materials:
| Material | SFM Range (Carbide) | Chip Load/Tooth |
|---|---|---|
| Aluminum | 800-1200 | 0.005-0.010" |
| Mild Steel | 400-600 | 0.004-0.008" |
| Stainless | 250-400 | 0.003-0.006" |
| Titanium | 100-200 | 0.002-0.004" |
| Cast Iron | 400-600 | 0.005-0.009" |
Adaptive/High-Efficiency Toolpaths:
For: Roughing operations
Principle: Constant tool engagement
Benefit: Higher feed rates, reduced tool wear
Best with: 3-5 flute general purpose bits
Traditional Toolpaths:
For: Finishing, precise dimensions
Principle: Full-width cuts or light stepovers
Benefit: Predictable results, simple programming
Best with: 4+ flute finishing bits
Trochoidal Milling:
For: Slotting, difficult materials
Principle: Circular tool motion with small engagement
Benefit: Reduced heat, extended tool life
Best with: 2-3 flute slotting bits
Four Approaches:
Flood Coolant:
Best for: General purpose, steel machining
Requirements: Adequate flow to wash away chips
Concentration: 5-10% typically
Through-Tool Coolant:
Best for: Deep cavities, high-temperature alloys
Pressure: 300-1000+ PSI
Critical: Filtered to prevent nozzle clogging
Mist Coolant:
Best for: Aluminum, non-ferrous metals
Advantage: Good visibility, minimal cleanup
Safety: Requires proper extraction
Dry Machining:
Best for: Cast iron, certain composites
Requirement: Specialized tool geometry/coatings
Benefit: No coolant disposal costs
Problem: Poor Surface Finish
     ↓
Check: Feed Rate → Too High? → Reduce by 30%
     ↓
Check: Tool Wear → Worn? → Replace/Resharpen
     ↓
Check: Rigidity → Weak Setup? → Improve workholding
     ↓
Check: Runout → Excessive? → Check holder, collet
Chatter/Vibration:
Symptoms: Visible waves on surface, audible ringing
Immediate Fix: Increase feed rate, reduce depth of cut
Permanent Solution: Use variable pitch bits, improve rigidity
Built-Up Edge:
Symptoms: Poor finish, dimensional inaccuracy
Common with: Aluminum, sticky materials
Solution: Increase SFM, use sharper bits, change coolant
Corner Chipping:
Symptoms: Damaged corners on workpiece or tool
Causes: Excessive feed in corners, weak corner design
Solution: Use corner radius bits, program corner slowdown
Premature Wear:
Symptoms: Tool dulls quickly, loss of size
Diagnostic: Check actual vs recommended SFM
Solution: Adjust parameters, consider different coating

Direct Costs:
Bit purchase price
Sharpening/resurfacing costs
Tool changing time
Indirect Costs:
Machine downtime for changes
Scrap/rework from tool failure
Secondary operations needed due to poor finish
True Cost Formula:
Cost per Part = (Bit Cost / Parts per Bit) +
          (Machine Time × Hourly Rate) +
          (Scrap Cost / Good Parts Rate)
Justification Matrix:
| Scenario | Standard Bit Cost | Premium Bit Performance Gain | Justified if... |
|---|---|---|---|
| High-volume production | $30, lasts 100 parts | $90, lasts 500 parts | Production > 150 parts |
| Critical finish requirement | $40, Ra=63 µin | $75, Ra=32 µin | Eliminates hand finishing |
| Difficult material | $50, 10 parts/tool | $120, 50 parts/tool | Material cost > $50/part |
| Machine cost > $100/hr | $25, 30 min cycle | $60, 20 min cycle | Annual volume > 500 parts |
Sharpening Makes Sense When:
Tool cost is high (>$100)
Original geometry can be maintained
Lead time for new tools is long
Consistent performance after sharpening
Replacement is Better When:
Tool is inexpensive (<$30)
Specialized coating is critical
Sharpening alters geometry significantly
Production consistency is paramount
Smart Tooling:
Embedded sensors for temperature, vibration, force
RFID chips for automatic tool identification
Wireless data transmission to CNC controllers
Additive Manufacturing:
3D-printed tool bodies with optimized internal structures
Custom geometries impossible with traditional manufacturing
Integrated cooling channels for maximum efficiency
Advanced Materials:
Nano-composite carbides with tailored properties
Diamond-coated tools for non-ferrous and composites
Self-lubricating tool materials for dry machining
Tool Management Systems:
Cloud-based tool crib management
Predictive replacement scheduling
Performance tracking across multiple machines
CAM Integration:
Tool libraries with actual performance data
Adaptive control based on tool condition monitoring
Automatic parameter optimization
Industry 4.0 Connectivity:
Tools as data sources in digital twin environments
Integration with MES (Manufacturing Execution Systems)
Predictive maintenance based on tool wear patterns
Month 1: Assessment and Benchmarking
Document current tooling and parameters
Measure actual tool life and performance
Identify top 3 problem areas or opportunities
Month 2: Testing and Optimization
Select one area for improvement
Test alternative bits and parameters
Collect data: tool life, finish quality, cycle time
Month 3: Implementation and Scaling
Implement successful changes
Train team on new procedures
Establish ongoing monitoring metrics
Must-Have Bits (Starting Point):
2-flute center-cutting end mill (aluminum/general)
4-flute end mill (steel/general finishing)
Corner radius end mill (for strength)
Face mill or shell mill (for facing operations)
Ball nose mill (for 3D work)
Spot drill (for accurate hole starting)
Measurement and Maintenance Tools:
Micrometer for tool diameter verification
Runout gauge (indicators)
Proper storage system (organized, protected)
Inspection microscope for edge condition
The perfect milling cutter bit is worthless without:
Proper machine with adequate rigidity and power
Secure workholding that minimizes vibration
Correct parameters matched to bit capabilities
Appropriate coolant strategy for the material
Skilled operator who recognizes problems early
Your competitive advantage doesn't come from any single component, but from how these elements work together in harmony. A moderately priced bit in a well-optimized system will outperform the most expensive bit in a poorly configured setup every time.
Final Wisdom: The journey to milling mastery is incremental. Start with understanding one bit type thoroughly. Master its application. Then expand your knowledge systematically. Each bit in your toolbox should earn its place through demonstrated performance, not just occupy space.
Remember: In milling, as in all machining, knowledge is your most valuable tool. The time invested in understanding milling cutter bits pays dividends in quality, efficiency, and cost savings throughout your career.
person: Mr. Gong
Tel: +86 0769-82380083
Mobile phone:+86 15362883951
Email: info@jimmytool.com
Website: www.jimmytool.com
