
End Mill Corner Radius: The Complete Selection Guide (Sizes, Types & When to Use)
Date:2026-03-20Number:3136End mill corner radius is the small curved transition ground between a tool's side cutting edge and its bottom face. That tiny curve changes your entire machining outcome — tool life, surface finish, how hard you can push your feeds and speeds, and whether your tool survives a tough material at all.
Whether you're roughing aluminum pockets or finishing hardened steel, understanding corner radius sizing separates a smooth productive run from a snapped carbide tool. This guide covers all of it: what the geometry does, how to size it by material, which coatings matter, and the speeds and feeds that actually work.
An end mill corner radius is the rounded profile at the corner where the flank and face cutting edges meet. Instead of a sharp 90° point, the tool carries a defined arc — labeled "R" on spec sheets — that distributes cutting forces across a wider edge area.
Think of it like the edge of a credit card versus the corner of a razor blade. The razor concentrates all force into a microscopic point; the card spreads it. That's exactly what a corner radius does for a carbide end mill under load.
Sharp corners are where carbide chips first — the radius removes that vulnerability, lets you run higher feed rates without edge failure, and leaves a smoother surface finish with less secondary cleanup.
Corner radius end mills sit structurally between square end mills and ball nose end mills. They keep a flat bottom for accurate floor cuts but add the corner protection that square tools lack.

This is the comparison most machinists actually need before making a tool order.
| Feature | Corner Radius End Mill | Square End Mill |
|---|---|---|
| Edge profile | Rounded transition (R) | Sharp 90° corner |
| Tool life | 30–50% longer in most materials | Shorter under same conditions |
| Cutting forces | Distributed across the radius arc | Concentrated at the corner point |
| Surface finish | Smoother, fewer tool marks | Can leave sharp transition marks |
| Feed rates | 15–25% higher without failure risk | More conservative limits |
| Internal corners | Leaves a small radius blend | Creates true 90° internal corner |
| Best for | Profiling, pocketing, roughing, 3D contour | Slots, precise square corners |
The only reason to choose a square end mill over a corner radius is when your part geometry demands a true 90° internal corner. In every other case, the corner radius tool wins on performance.
The correct radius size depends on three things: the operation type, the material, and the tool diameter. Get one wrong and you either sacrifice detail or leave edge strength on the table.
A practical starting rule: corner radius should be 5–15% of your tool diameter. A 1/2″ end mill, for example, works well with a 0.030″–0.060″ radius in that range.
Small radii keep tight geometry in confined features. Use them when your part design requires near-sharp transitions or when machining into detailed mold cavities.
The tradeoff is edge fragility. Small-radius tools need lower feed rates and are more sensitive to runout — keep runout under 0.0005″ or you'll see uneven wear across flutes.
This is the sweet spot for most CNC shops. Medium radii balance edge strength with geometric accuracy across profiling, pocketing, and general 3D contouring.
A 0.030″ radius on a 1/4″ tool or a 0.040″–0.050″ radius on a 1/2″ tool handles the majority of aluminum and steel work you'll encounter. Start here if you're unsure.
Large radii maximize edge strength for aggressive material removal. They handle interrupted cuts, high chip loads, and tough alloys without the microchipping that destroys smaller-radius tools.
The limitation: large radii leave a noticeable blend at floor-to-wall transitions. Use them for roughing passes, then switch to a smaller radius or square tool to clean up.
One of the biggest gaps in most corner radius guides is material-specific advice. Here's what actually changes.
Aluminum is soft but sticky. The bigger risk isn't edge chipping — it's built-up edge (BUE), where aluminum welds itself to the cutting edge and ruins your finish.
Use a larger radius (0.030″–0.060″) for most aluminum work — the wider arc improves chip flow and resists galling better than a small radius does. Pair it with 2–3 flutes, a 45° high-helix angle, and a ZrN or DLC coating to block aluminum adhesion.
Run carbide in aluminum at 800–1,200 SFM. Chip evacuation matters more than raw cutting speed — blast chips out of the pocket aggressively, and never let them re-cut.
Steel requires the opposite approach: smaller radii (R0.2–R0.5) for finishing precision, medium radii (R0.5–R1.0) for general work, and larger radii for roughing hardened grades.
Fine-grain carbide with a TiAlN or AlTiN coating handles heat and abrasion well up to HRC 45 — run at 200–400 SFM and keep chip loads conservative. Steel punishes pushed parameters the way aluminum never does.
Stainless generates higher cutting forces and work-hardens fast. That combination punishes sharp corners aggressively — corner radius tools last up to 50% longer in stainless compared to square end mills under the same conditions.
Use a medium radius (R0.5–R1.0) with a 4-flute polished-flute tool and an AlCrN or TiAlN coating. Keep SFM between 100–350, run flood coolant, and never dwell in the cut — work hardening builds the instant your feed rate drops.
Coating choice is where most machinists leave performance on the table. Pick the right one for your material and you can double tool life — pick the wrong one and you accelerate wear faster than running uncoated.
| Coating | Best For | Key Benefit |
|---|---|---|
| ZrN (Zirconium Nitride) | Aluminum, copper, non-ferrous | Prevents aluminum adhesion; low friction |
| DLC (Diamond-Like Carbon) | Aluminum, plastics | Ultra-slick; zero BUE at high speeds |
| TiAlN (Titanium Aluminum Nitride) | Steel, alloy steel | High-temp hardness up to 800°C |
| AlTiN (Aluminum Titanium Nitride) | Hardened steel, stainless | Better heat resistance than TiAlN |
| AlCrN (Aluminum Chromium Nitride) | Stainless, superalloys | Oxidation resistance, long tool life |
| Uncoated | Aluminum (with high-polish flutes) | Zero risk of coating buildup |
For aluminum: ZrN or DLC. Never use TiAlN on aluminum — aluminum bonds aggressively to titanium, making BUE worse, not better.
For steel and stainless: TiAlN or AlCrN depending on hardness. Harder materials demand more oxidation resistance at the cutting zone, so push toward AlCrN as hardness climbs.
This is the section most articles skip entirely. Here are real starting parameters for carbide corner radius end mills. Always start at 80–90% of these values and dial up once you've confirmed stable cutting.
| Tool Diameter | SFM | Feed/Tooth (IPT) | Axial DOC |
|---|---|---|---|
| 1/8″ | 800–1,000 | 0.0008–0.0015 | 0.25× D |
| 1/4″ | 900–1,200 | 0.0015–0.003 | 0.25–0.5× D |
| 1/2″ | 1,000–1,400 | 0.003–0.006 | 0.5× D |
Carbon / Alloy Steel (up to HRC 35)
| Tool Diameter | SFM | Feed/Tooth (IPT) | Axial DOC |
|---|---|---|---|
| 1/8″ | 200–300 | 0.0005–0.001 | 0.2× D |
| 1/4″ | 250–350 | 0.001–0.002 | 0.2–0.3× D |
| 1/2″ | 300–400 | 0.002–0.004 | 0.3× D |
Stainless Steel (304, 316)
| Tool Diameter | SFM | Feed/Tooth (IPT) | Axial DOC |
|---|---|---|---|
| 1/8″ | 100–175 | 0.0004–0.0008 | 0.15× D |
| 1/4″ | 150–250 | 0.0008–0.0015 | 0.15–0.2× D |
| 1/2″ | 200–300 | 0.0015–0.003 | 0.2× D |
Key adjustments to make immediately: Running trochoidal or adaptive toolpaths? Increase feed rate by 20–30% and drop radial engagement to 5–10% of diameter. Hearing chatter? Drop spindle speed 15–20% first — reducing feed rate instead increases rubbing and heat, making it worse. And if your tool sticks out more than 4× diameter, cut all values by 25% minimum.
Not all corner radius end mills are the same product. These are the main variations you'll see in catalogs.
Single-End Corner Radius End MillThe standard configuration. One cutting end, flat shank. Works for the vast majority of profiling and pocketing operations. Available in 2, 3, and 4-flute versions.
Double-End Corner Radius End MillCutting edges on both ends. Extends tool life in high-volume production environments. When one end dulls, flip it. Not suitable for deep pockets or tight reaches.
Variable Helix Corner Radius End MillThe helix angle shifts along the flute length. That variation breaks up harmonic resonance and kills chatter — especially useful on long-reach applications where standard tools vibrate.
Long-Reach / Reduced Neck Corner Radius End MillFull cutting diameter at the tip, narrowed shank for deep pocket access. It keeps the strong corner geometry while reaching where a standard tool can't. Watch your overhang — every extra inch of stick-out multiplies vibration risk significantly.
Chatter marks on the wallFirst check: shorten your tool stick-out. Then try climb milling if you're running conventional. If chatter persists, switch to a variable helix tool or drop spindle speed 15–20% without touching feed rate.
Built-up edge on aluminumYour coating or chip evacuation is failing. Switch to ZrN or DLC coating and add an air blast directly at the cut zone. Increase cutting speed slightly — slower speeds let aluminum bond to the edge.
Inconsistent radius blend ("step" or undercut at the corner)This is a manufacturing defect in the tool itself. The radius is not tangent to the side wall. Inspect new tools under magnification before running them — a visible step on the radius is a tool to return, not a parameter to adjust around.
Edge chipping on entryYour tool is hitting the material full-width at full feed. Program a ramping or helical entry instead of a direct plunge. Reduce feed rate by 50% during the first revolution of engagement.
Poor dimensional accuracy over a long runTrack your hours in cut. Corner radius tools wear predictably — but once the radius starts deforming, diameter and wall accuracy both drift. Set a tool change interval and stick to it rather than running to failure.
Use this before every tool order.
What is the corner radius on an end mill?
The corner radius is the arc-shaped transition ground at the cutting corner between the end face and side cutting edge of an end mill. Spec sheets measure it in inches or millimeters and label it "R" — it distributes cutting forces across a wider edge area, cutting chipping and extending tool life versus a sharp 90° corner.
What is the difference between a corner radius and a ball nose end mill?
A corner radius end mill keeps a flat bottom — it machines accurate flat floors while the radius protects the edge. A ball nose carries a fully hemispherical tip for 3D contouring only; use a corner radius tool whenever your part has any flat floor to cut.
When should I use a corner radius end mill instead of a square end mill?
Use a corner radius end mill any time your part geometry accepts a small radius at internal corners — it runs faster, lasts longer, and delivers a better finish than a square tool. Choose a square end mill only when the design demands a true 90° internal corner with zero radius blend.
What corner radius size should I use for aluminum?
For most aluminum work, target a radius between 0.030″ and 0.060″ (R0.75–R1.5) — smaller for detail features, larger for profiling and roughing. The goal in aluminum isn't just edge strength; a larger radius also fights the galling and built-up edge that aluminum causes at the cutting zone.
Can a corner radius end mill be used for plunge cutting?
Yes — but only if the tool cuts through center. Check the spec sheet first; if it doesn't, program a helical or ramping entry instead of a direct plunge.
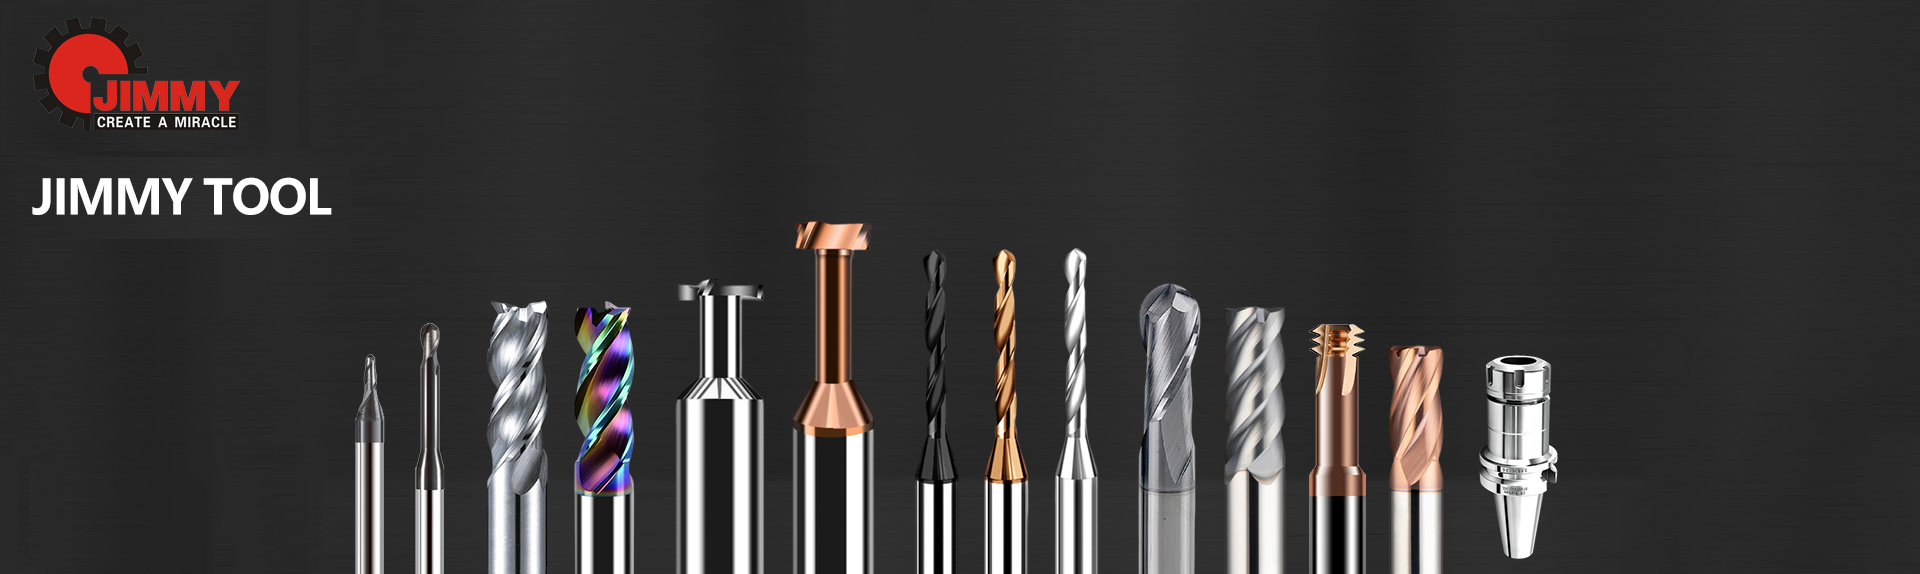
Choosing the right corner radius end mill shouldn't mean spending an hour digging through spec sheets. At JimmyTool, you'll find a full range of carbide corner radius end mills — sorted by material, operation, coating, and size — so you can match the right tool to your job in minutes.
Whether you need a 2-flute ZrN-coated tool for high-speed aluminum, a TiAlN 4-flute for hardened steel, or a variable-helix design to kill chatter on long-reach cuts, JimmyTool stocks it with full technical specs and real machining data.
Not sure which tool fits your application? Contact the JimmyTool technical team — describe your material, operation, and machine setup, and get a specific recommendation instead of a generic catalog page.
person: Mr. Gong
Tel: +86 0769-82380083
Mobile phone:+86 15362883951
Email: info@jimmytool.com
Website: www.jimmytool.com
